Если у вас установлен Snap на экземпляре Zimbra (при установке Certbot),
вы можете получать массу писем от инструментов мониторинга Zimbra с
предупреждениями, в которых говорится:
Это нормально, поскольку все файлы / dev / loopX доступны только для
чтения и автоматически создаются Snap. Вы можете увидеть их, выполнив df
-h:
Вы можете исключить эти устройства из мониторинга Zimbra, выполнив
zmlocalconfig -e zmstat_df_excludes = '/ dev / loop0: / dev / loop1: /
dev / loop2: / dev / loop3: / dev / loop4: / dev / loop5: / dev / loopX
'как пользователь Zimbra:
В настоящее время делиться
мультимедийным контентом с устройствами в нашем доме проще, чем
когда-либо, мы можем делиться контентом с нашего NAS-сервера или
напрямую с Linux-на
основе сервера, установка программы miniDLNA, которая позволит нам
легко обмениваться контентом. Сервер DLNA позволит нам передавать аудио,
видео и фотографии на телевизоры, смартфоны, планшеты и любые
устройства с экраном. Этот контент можно воспроизводить на любом
устройстве, совместимом с UPnP / DLNA. Сегодня в этой статье мы покажем
вам, как настроить наш сервер DLNA на любом сервере Linux.
Для чего нужен медиа-сервер DLNA?
В
настоящее время подавляющее большинство маршрутизаторов с USB-портом
имеют медиа-сервер DLNA, это означает, что, если мы подключим внешний
жесткий диск или флешку, мы сможем воспроизводить мультимедийный контент
на любом устройстве, подключенном к домашней локальной сети, без
необходимость ничего не делать. Однако возможно, что наш маршрутизатор
недостаточно мощный для выполнения этой задачи, тем более, что для
чтения фильма или сериала, который мы собираемся воспроизвести,
используется много процессора, и, в зависимости от битрейта
мультимедийного контента, он может не хватить. По этой причине наиболее
распространенным является использование внешнего сервера DLNA на любом
сервере на базе Linux, таком как Debian на NAS, Raspberry Pi или любое устройство.
Для всего этого нам будет служить DLNA-сервер на сервере с операционной системой Linux:
Это
позволяет нашему телевизору обнаруживать сервер и воспроизводить
контент (аудио, видео и фотографии), который находится на сервере.
Другие
устройства, такие как смартфоны, планшеты и даже наша консоль, также
могут обнаруживать его и воспроизводить содержимое сервера DLNA через
Wi-Fi.
Мы можем подключить другие устройства, например, совместимые колонки.
По логике вещей необходимо, чтобы все устройства были совместимы с сервером DLNA, который мы собираемся установить.
Серверы DLNA, которые мы можем использовать
Одним из наиболее широко используемых серверов DLNA является популярный miniDLNA
, который совместим со многими операционными системами и практически со
всеми устройствами. В нашем случае это тот, который всегда давал нам
лучший результат, хотя есть и другие, такие как Fuppes, которые также
работают очень хорошо (интегрированы в XigmaNAS-ориентированную
операционную систему NAS). Другими широко используемыми серверами DLNA
являются, например, Plex Media Server, который не только включает Plex,
но и встроенный сервер DLNA для тех телевизоров, которые несовместимы с
вашим приложением.
Основными характеристиками miniDLNA является то, что это сервер DLNA, который потребляет очень мало ресурсов, как на CPU / ЦЕНТРАЛЬНЫЙ ПРОЦЕССОР и Оперативная память
На уровне, все будет работать очень быстро, а загрузка процессора будет
как раз при чтении мультимедийного содержимого внешнего диска. Этот
сервер DLNA может быть установлен на любом Linux, независимо от
оборудования, хотя по логике нам нужно, чтобы он был чем-то мощным,
чтобы не было никаких проблем, и мы должны учитывать его потребление
электроэнергии, потому что он будет активирован 24 часа в сутки. .
Другие характеристики заключаются в том, что он имеет действительно
простую конфигурацию, но очень важная деталь заключается в том, что он
не позволяет перекодировать аудио и / или видео, таким образом, мы
должны убедиться, что наш телевизор поддерживает различные существующие
видеоформаты.
В этой статье мы использовали miniDLNA более 5 лет, и
за все это время у нас не было никаких проблем с воспроизведением
мультимедийного контента, за исключением тех старых телевизоров, которые
не поддерживают новые видеокодеки, такие как H.265, но если ваш
телевизор новый (относительно), у вас не должно возникнуть проблем. +
Установка и ввод в эксплуатацию MiniDLNA
Программа
miniDLNA настолько хорошо известна, что у нас есть она доступна в
официальных репозиториях основных дистрибутивов GNU / Linux, поэтому она
будет у нас через диспетчер пакетов. В этом руководстве мы использовали
Debian 10, но вы можете использовать любую версию, например Ubuntu, Linux Mint или любой другой дистрибутив, потому что все они работают одинаково.
Первое, что нужно сделать, это установить miniDLNA со всеми ее зависимостями:
sudo apt install minidlna
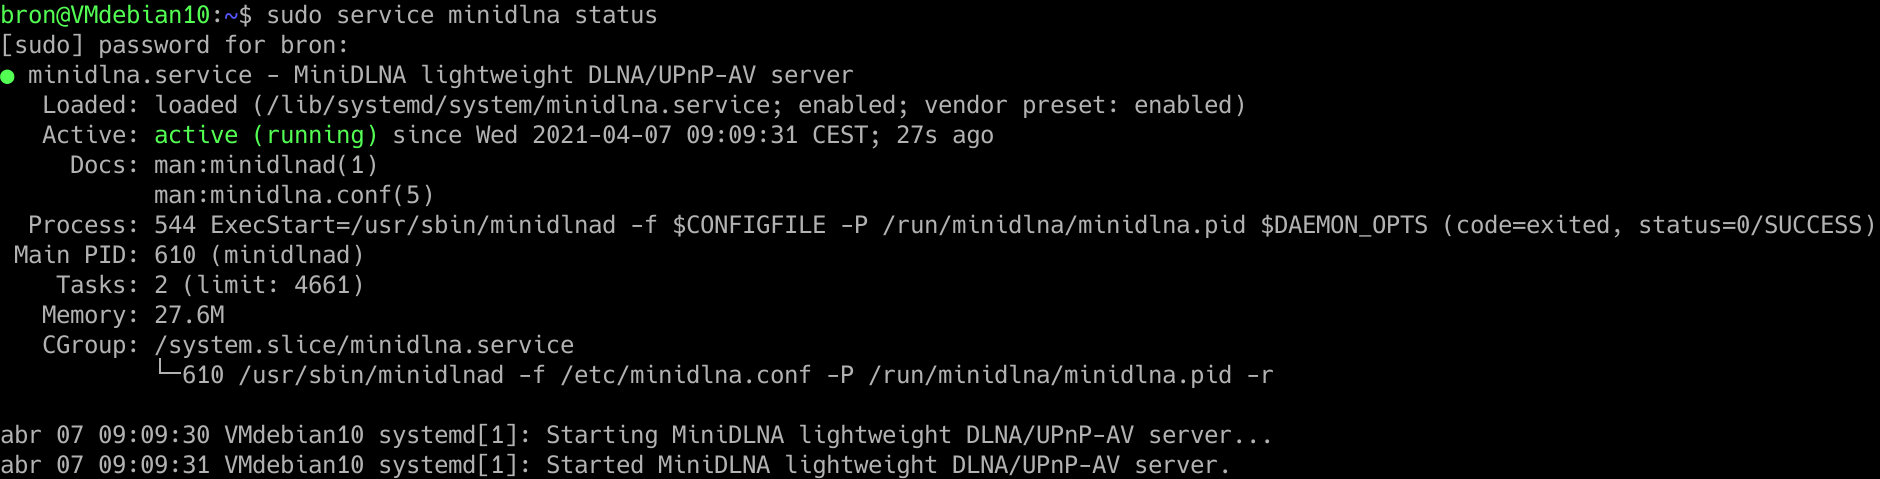
После установки запускаем службу miniDLNA:
sudo service minidlna start
Автоматически
эта служба запускается вместе с операционной системой, нам не нужно
делать абсолютно ничего другого, как вы можете видеть, когда мы
добавляем:
sudo service minidlna status
Настроить сервер miniDLNA
Этот
сервер DLNA настраивается с помощью одного файла конфигурации, который
нам придется редактировать, поэтому он значительно облегчает его
настройку и запуск, потому что нам не нужно будет редактировать
несколько, а только один. Для его редактирования мы будем использовать
любой текстовый редактор, обычно используется vim или nano, в нашем
случае мы будем использовать nano.
sudo nano /etc/minidlna.conf
В
самом файле конфигурации у нас будет вся необходимая документация для
запуска сервера DLNA, но в этой статье мы подробно объясним, как его
настроить, поскольку он поставляется на английском языке. Важной деталью
является то, что у нас есть справочная страница (руководство)
медиа-сервера miniDLNA, поэтому мы можем получить больше информации об
операции.
man minidlna
Первое,
что нам нужно узнать, это загрузить источники мультимедийного контента,
в зависимости от того, есть ли у нас видео, аудио или фотографии,
синтаксис будет следующим:
media_dir=A,/home/bron/multimedia/audio
media_dir = P, / home / bron / multimedia / фотографии
media_dir = V, / главная / броня / мультимедиа / видео
Как
видите, если мы хотим загрузить «A» - это звук, P - это фотографии, а V
- видео, таким образом, на телевидении он будет выглядеть идеально
классифицированным. Если мы хотим, чтобы появились видео и фотографии,
мы также могли бы это сделать, что идеально подходит для камер, которые
также записывают видео:
media_dir=PV,/home/bron/multimedia/camara_fotos
Еще
одно предложение, которое мы должны настроить, - где хранить базу
данных DLNA, в этом случае это делается раскомментированием следующей
строки:
db_dir=/var/cache/minidlna
То же самое происходит с каталогом журналов или регистров, в случае какой-либо ошибки:
log_dir=/var/log/minidlna
Остальные параметры конфигурации можно оставить таким образом:
port 8200
friendly_name = DLNA-сервер
inotify = да
notify_interval = 30
У
нас есть все операторы, уже написанные в файле конфигурации, но они
прокомментированы, поэтому мы должны раскомментировать их, чтобы они
активировались. После того, как мы его настроили, мы сохраняем файл
конфигурации и приступаем к перезагрузке сервера DLNA, чтобы он
правильно применил изменения.
sudo service minidlna restart
Как только мы все это сделаем, мы сможем получить доступ к нашему телевизору или смартфону и протестировать медиа-сервер DLNA.
Настроить брандмауэр сервера Linux
Во всех операционных системах Linux брандмауэр
всегда работает, обычно на основе iptables, но по умолчанию у нас есть
«разрешить все», поэтому вам не нужно создавать какие-либо
дополнительные правила для доступа к медиа-серверу DLNA. Если вы
настроили брандмауэр iptables в ограничительном режиме с «запретить
все», вам придется ввести два правила для его правильной работы.
iptables -A INPUT -p tcp --dport 8200 -j ACCEPT
iptables -A INPUT -p udp –dport 1900 -j ПРИНЯТЬ
Мы
предполагаем, что у вас есть только один сетевой интерфейс и одна
подсеть, в случае, если вы хотите фильтровать по порту или подсети, вам
нужно будет добавить это, это правило разрешает локальный доступ только к
двум портам, определенным выше.
Если вы хотите, чтобы эти правила в брандмауэре сохранялись, вам нужно будет выполнить следующую команду:
iptables-save > /etc/iptables/rules.v4
Теперь
мы можем проверить, все ли правильно работает с тем клиентом DLNA,
который нам нужен, например телевизор, смартфон или планшет.
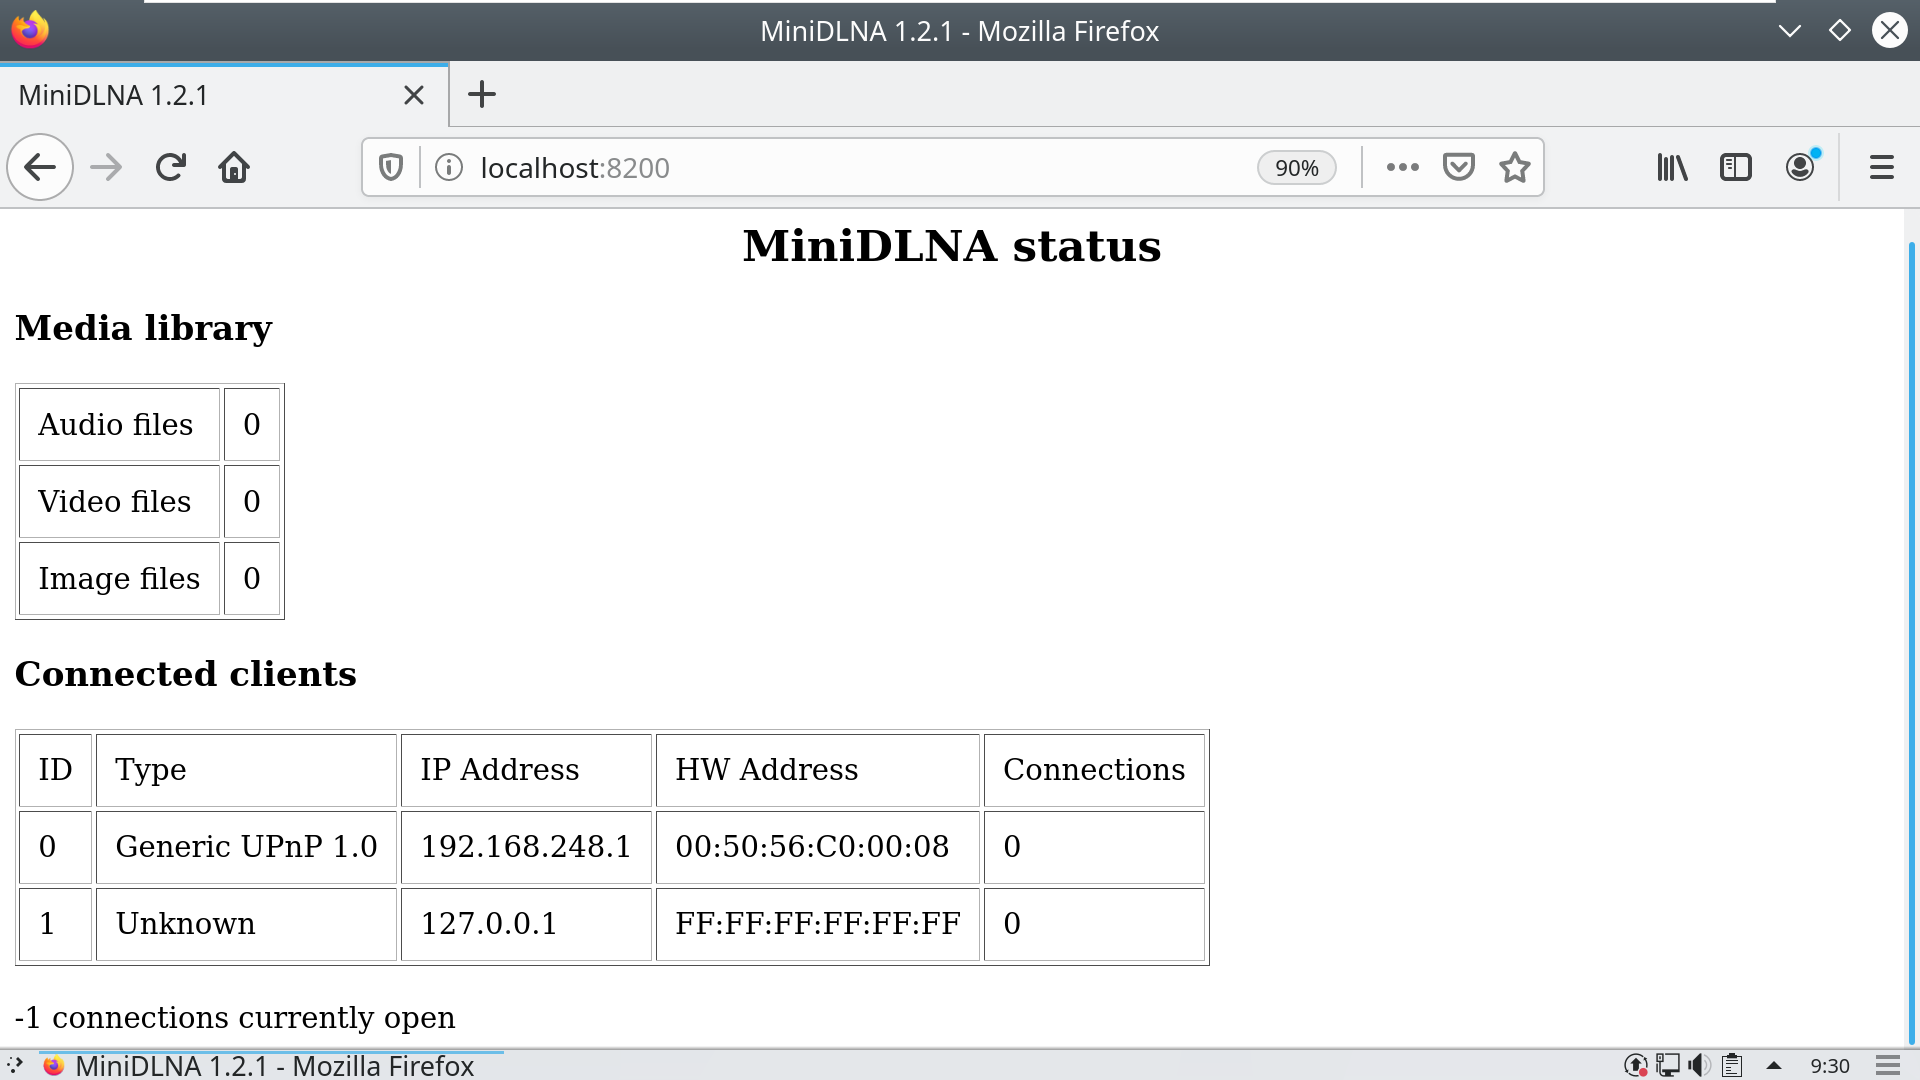
Проверить статус сервера miniDLNA
Если
мы получим доступ к нашему локальному IP-адресу через Интернет или с
любого компьютера и поместим порт 8200, мы получим доступ к
веб-интерфейсу статуса miniDLNA. Здесь мы увидим только
медиа-библиотеку, количество аудио-, видео- и графических файлов. Мы
также сможем увидеть клиентов, которые в настоящее время подключены к
медиа-серверу DLNA, с их IP-адресом, MAC-адресом и количеством
подключений.
В нашем случае мы положили:
http://localhost:8200
Воспроизведение содержимого нашего сервера DLNA
Теперь,
когда мы все установили правильно, все, что нам нужно сделать, это
найти сервер DLNA в локальной сети. В зависимости от того, какой клиент
(устройство) вы используете, вам придется использовать ряд программ:
ТВ:
Во всех телевизорах распознавание медиа-серверов DLNA полностью
автоматическое, оно будет отображаться в верхней или нижней части, где
появляются съемные устройства хранения.
ПК с Windows, Linux или MacOS: мы можем использовать KODI или VLC, два лучших варианта для всех платформ.
Android: VLC или BubbleUPnP - два приложения, которые позволят нам искать сервер DLNA в среде и воспроизводить его.
iOS: VLC
Во всех этих программах мы должны перейти к «Cеть”И
найдите такую опцию, как UPnP или DLNA, и наш недавно настроенный
сервер DLNA появится автоматически. Если он не отображается ни на одном
устройстве, мы рекомендуем вам проверить брандмауэр iptables, а также,
если он активирован.
Как вы видели, установка и настройка сервера
DLNA на нашем NAS или сервере Linux очень проста, нам просто нужно
установить его и настроить текстовый файл, что не вызовет особых
трудностей.
Rhythmbox is an opensource and easy-to-use audio player that ships by default with Linux systems running the GNOME desktop environment. It comes with a neat UI and helps you organize your audio files into playlists for better user experience.
Users can make a few tweaks such as repeating or shuffling music and changing the appearance of the music player using the ‘Party mode’ option which scales the window to full screen.
In
addition to playing audio files, you can stream a wide array of
internet radio stations and listen to podcasts from around the world.
You can also link to last.fm online platform that will
create a profile of your most listened to music either locally or
streaming online radio. And to extend its functionality, it packs with
50 third-party plugins and many more official plugins.
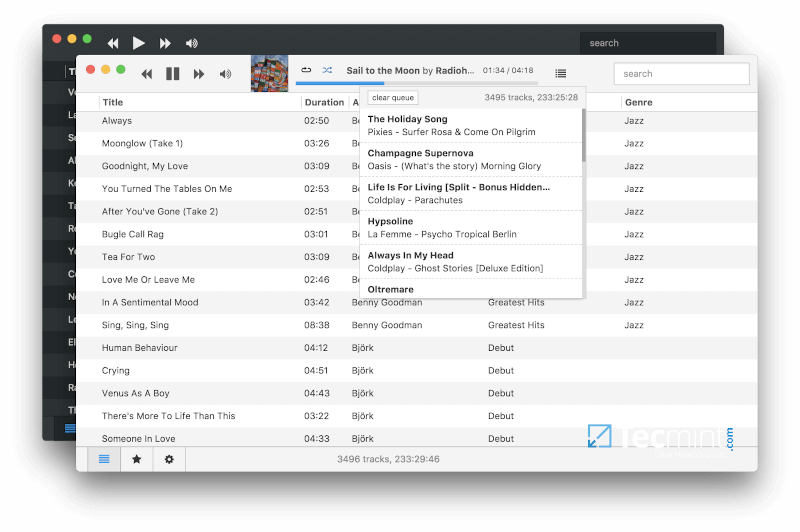
Rhythmbox Audio Player
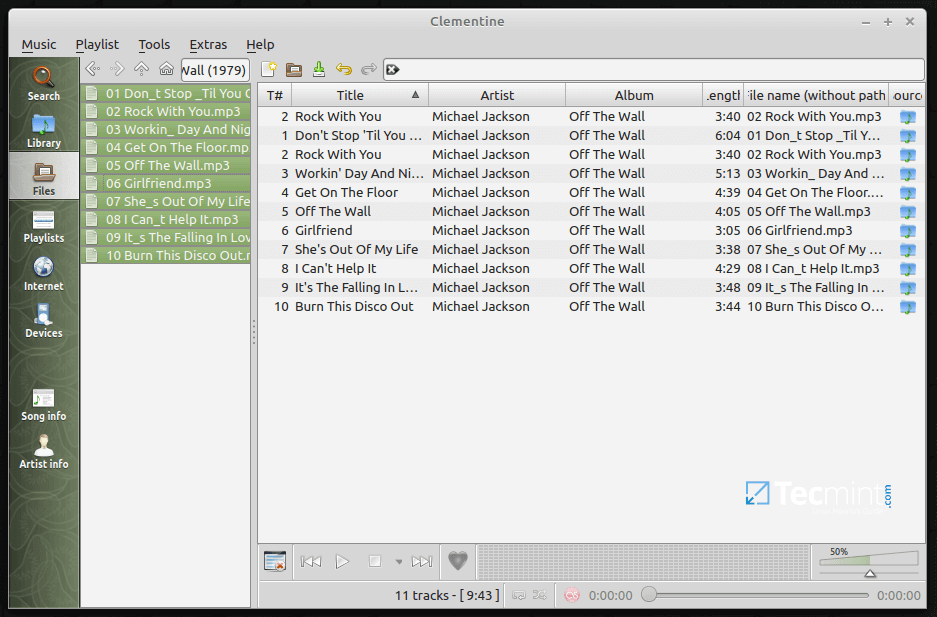
Written in Qt, Clementine
is a cross-platform feature-rich music player that lets you do so much
more than just playing audio files. The audio player comes with a
tree-navigation menu that makes searching for audio files a walk in the
part.
Under the hood, the player is replete with a sea of advanced options.
You can get almost everything: from a visual and equalizer to a
built-in music transcoding tool that allows you to convert your audio
files to 7 audio formats. Clementine also allows you to search and play music files backed up on cloud platforms such as OneDrive, Google Drive, and DropBox for music on online
If you are an online-streaming enthusiast, listening to online radio stations and podcasts is on a whole new level. Clementine
accords you the luxury of streaming up to 5 internet radio platforms
such as Jamendo, Sky FM, Soma FM, Jazzradio.com Icecast, Rockradio.com
and even stream from Spotify and SoundCloud.
Other features include desktop notifications, playing and ripping
audio CDs, editing playlists and ability to import music from external
drives.
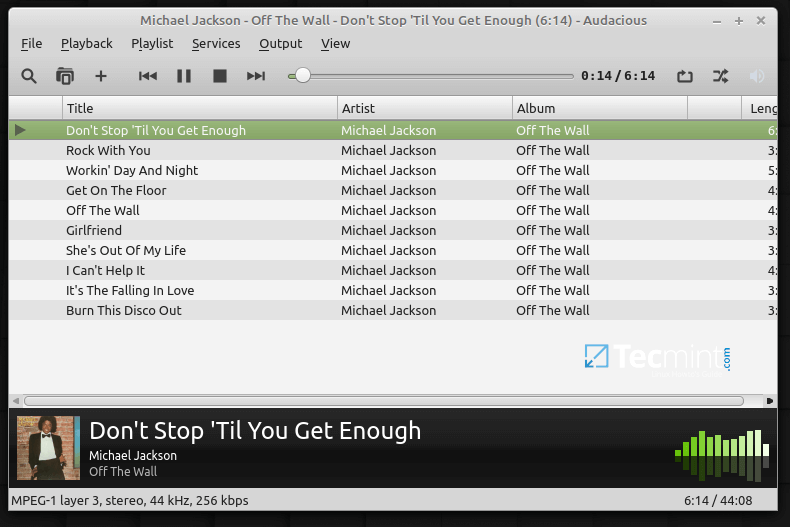
Audacious
is yet another free and opensource audio player that is especially
recommended for Linux systems with low CPU and RAM specifications. The
reason is simple: Audacious is resource-friendly while at the same time
producing high and satisfactory audio quality. Unlike Clementine, It lacks advanced features & functionalities.
Nevertheless, it comes with a simple and intuitive user interface
which is just okay if you are looking into playing your saved audio
files. You can perform basic tasks like creating playlists, importing
audio files or folders into the player, shuffling music, and playing
music from CDs.
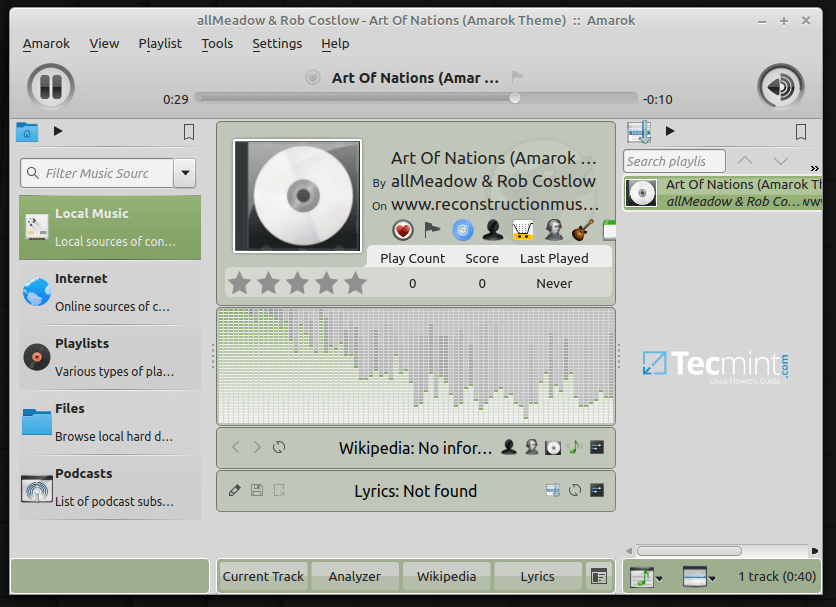
Written in C++, Amarok
is yet another cross-platform and opensource audio player with a few
striking features. First off, the audio player detected duplicate
entries in the playlist and give you an option to ignore adding the
duplicate files. It comes with a visually-appealing UI that easy to use
and navigate.
Another thing that stands out with Amarok is its
ability to pull cover art and artistes’ bio from Wikipedia as shown in
the attached screenshot. The application scores highly in the
high-quality music output and underlying nifty features such as creating
playlists, viewing music lyrics, creating custom shortcuts, and
changing the application language. Given its features, it’s by the
greatest music player that you can install and reap from its war chest
of features.
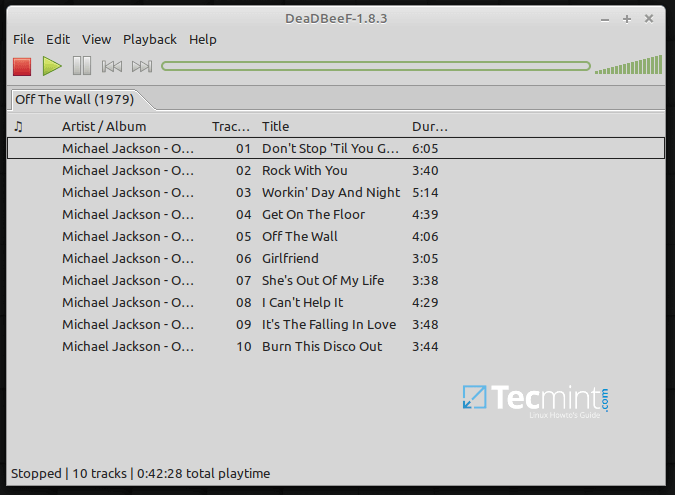
DeaDBeef
is a compact and efficient audio player that is written in C++ and
comes with a native GTK3 GUI. IT supports a wide range of media formats
and packs with multiple plugins.
It’s stripped down in terms of any advanced features and users will
have to make do with playlist-based music and basic tasks such as
shuffling, repeating music, and editing metadata to mention a few.
The audio players we have covered to far have a graphical user
interface with menus, buttons, and panels. As you might have observed, CMUS is devoid of any GUI tools and is basically a command-line media player.
Install CMUS in Ubuntu and Linux Mint
To install CMUS, simply run the commands:
$ sudo apt update
$ sudo apt install cmus
To start cmus, simply run the command cmus on the terminal and press 5
on the keyboard to display a hierarchical list of your directories.
From there, you can navigate to your destination folder that contains
audio files and select the file you want to play.
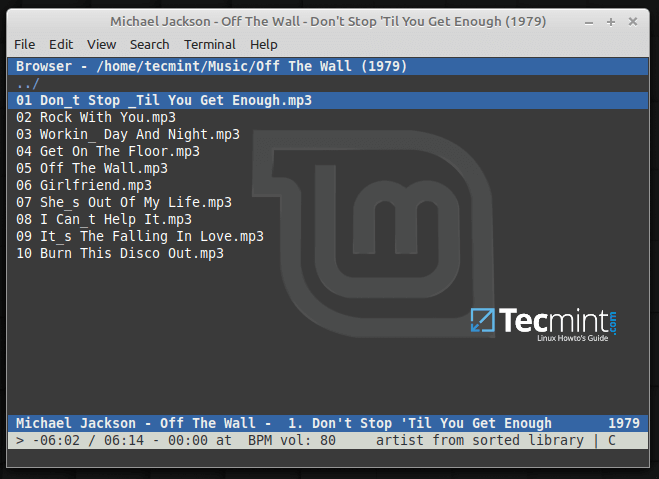
CMUS – Console Music Player
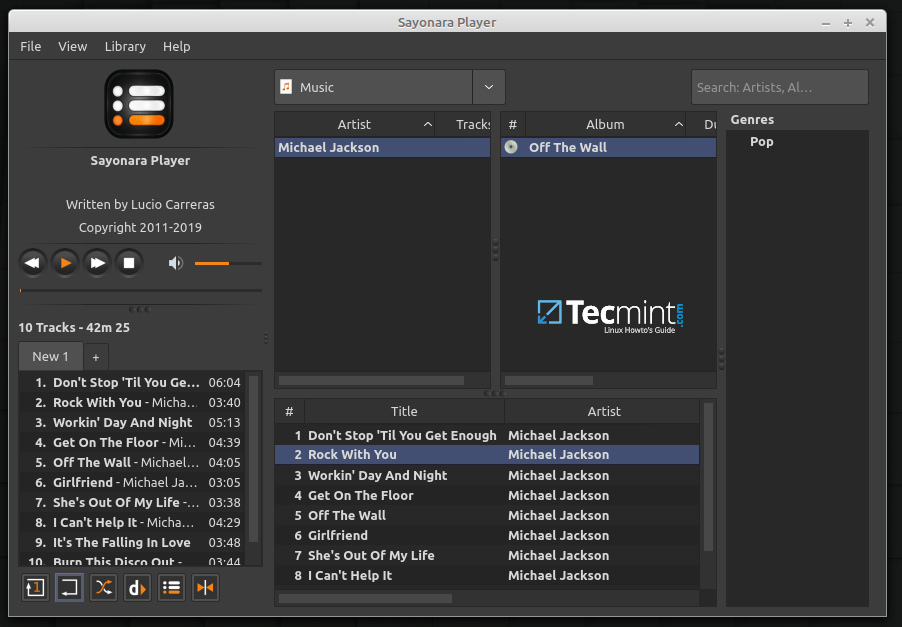
7. Sayonara Audio Player
Another application worth mentioning is Sayonara. The application ships with a cool looking UI with features and functionalities that are more or less what you’d find in Rhythmbox. You can add files and create playlists, listen to online radio ( SomaFM, and Soundcloud), and make numerous other tweaks such as changing the default theme.
Sayonara, however, is stripped of overblown advanced
features, and just like Rhythmbox, users are restricted to only a few
online streams and listening to music saved on their PC.
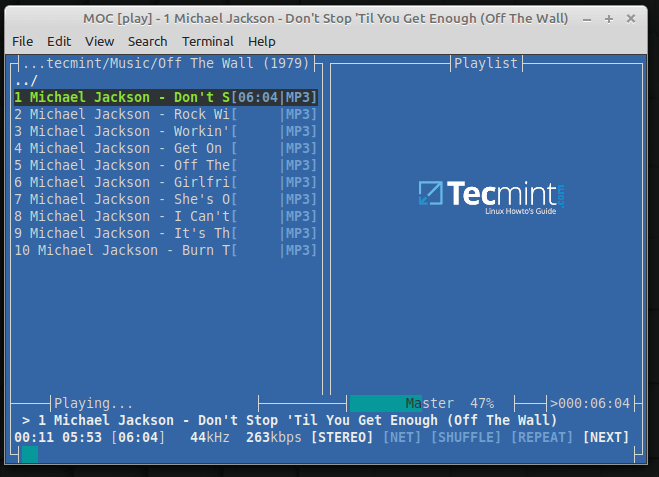
Just like CMUS, MOC
is another lightweight and terminal-based music player. Surprisingly,
it’s quite efficient with features including key mapping, a mixer,
internet streams, and the ability to create playlists and search for
music in the directories. Additionally, it supports output types such as
JACK, ALSA, and OSS.
MOC – Terminal Music Player
Install MOC in Ubuntu and Linux Mint
$ sudo apt-get update
$ sudo apt-get install moc moc-ffmpeg-plugin
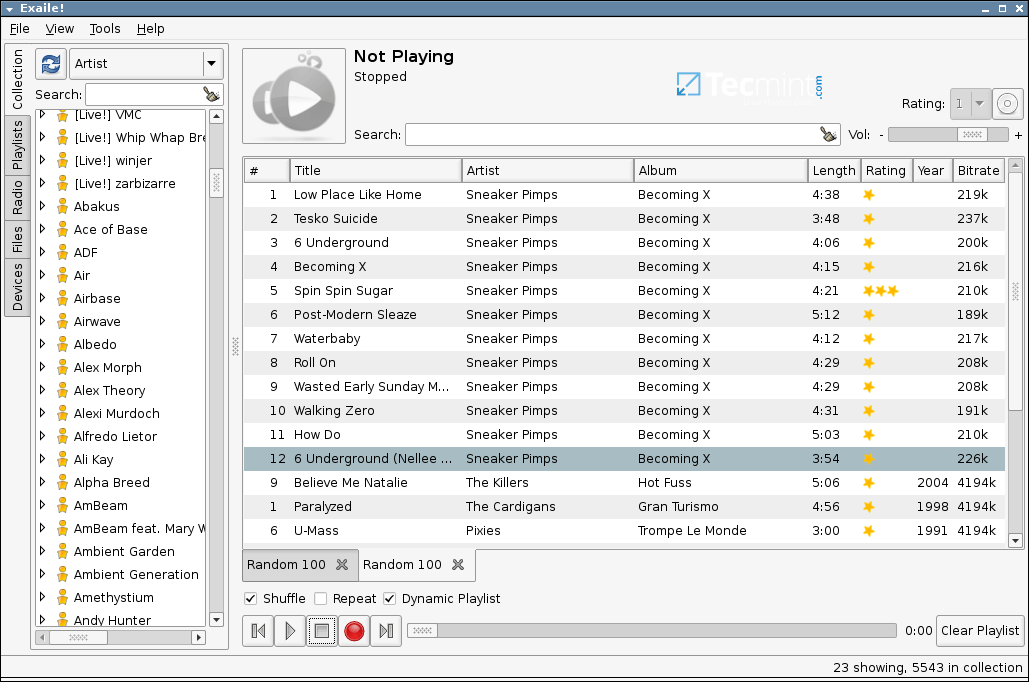
9. Exaile Music Player
Exaile
is an opensource and cross-platform music player that is written in
Python and GTK+. It comes with a simple interface and is replete with
powerful music management functionalities.
Exaile enables you to create and organize your
playlists, fetch album art, stream online radio stations such as Soma FM
and Icecast and so much more.
Museeks
is another cross-platform simple and clean audio player that is lean on
advanced features but still provides the simplicity in playing your
music and creating playlists.
You can still perform simple tasks like changing the theme to dark
theme, repeating, and shuffling music. This is by far the simplest of
all the audio players in terms of features and functionality.
Lollypop
is an opensource and free-to-use graphical music player that is very
user-friendly and also does quite a good job of organizing your music.
It’s tailored for GTK-based desktop environments such as GNOME and
intuitively organizes your music collection into categories such as
music genres, year released, and artist names. It’s super easy to
navigate the application and get what you want.
It supports a vast array of file formats including MP3, MP4, and OGG
audio files. You can stream online radio, and perform other application
tweaks such as configuring keyboard shortcuts, changing theme
appearance, enabling cover art & smooth transitions and importing
playlists to mention a few.
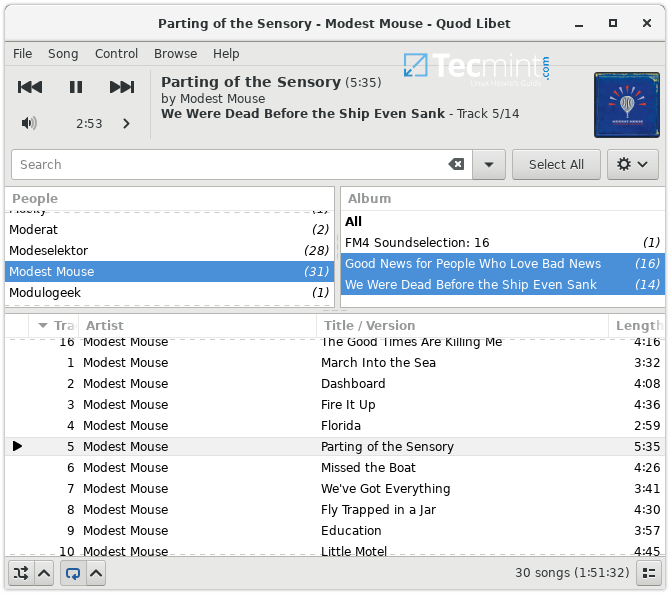
Written in Python, Quod Libet
is a GTK-based music player that uses the Mutagen tagging library. It
comes with a clean and simple UI, completely stripped off any fancy
features.
The player is plugin-rich and supports tag editing, replay gain,
album art, library browsing & internet radio with hundreds of
stations to tune into. It also supports mainstream audio formats such as
MP3, MPEG4 AAC, WMA, MOD, and MIDI to mention a few.
Spotify
is arguably the most popular streaming service with millions of active
users from across the globe. What strikes me the most about this
application is its beautifully-designed UI that lets you navigate easily
and browse your music genres. You can search and listen to different
music genres from thousands of artists across the world.
You can install the Spotify application on Ubuntu
& Linux and enjoy your favorite music. Be cautious though, the
application is resource-intensive and hogs a lot of memory & CPU and
may not be ideal for older PCs.
Strawberry
is an open-source music player for enjoying large collections of music,
that supports almost all common audio formats and comes with more
advanced features like metadata tag editing, fetch album art and song
lyric, audio analyzer, and equalizer, transfer music to devices,
streaming support and more.
Strawberry is a fork of most popular Clementine player which was based on Qt4. Strawberry was developed in C++ using a more modern Qt5 toolkit for its graphical interface.
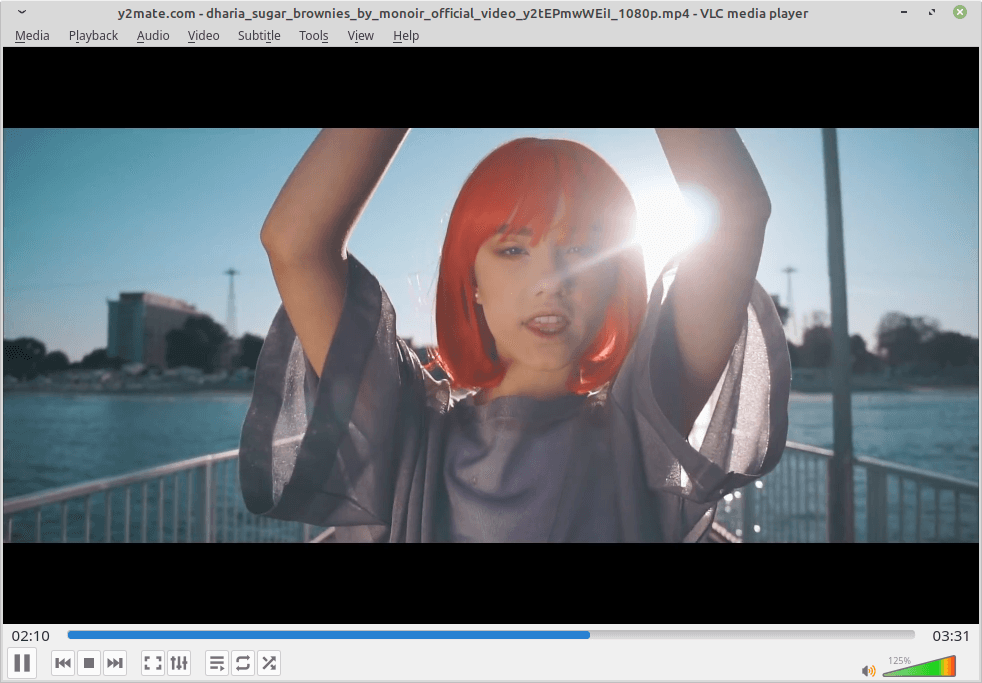
VLC is a free, open-source, and cross-platform portable media player
software and streaming media server created by the VideoLAN team. It
supports almost all video and audio file formats, compression methods,
steaming protocols to stream media over networks, and transcode
multimedia files.
VLC is cross-platform, which means it available for desktop and
mobile platforms, such as Linux, Windows, macOS, Android, iOS, and
Windows Phone.